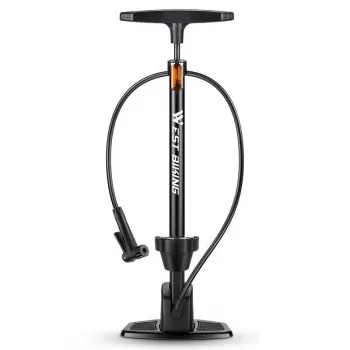
A quick tire pressure check can make your bike easier to prepare for the road or trail. A floor pump with a gauge lets you add air while keeping an eye on the pressure, so you can stop within the range printed on your tire. Our High-Pressure Bike Floor Pump works with both Presta and Schrader valves, making it a practical option for different bicycles. For more guidance, see Group test: Choose the best portable cycle pumps.
Bike tires gradually lose air, even when the bike is parked. Checking them before a ride gives you a chance to adjust pressure before a tire feels noticeably soft. A gauge takes some of the guesswork out of the job: you can watch the reading as you pump rather than relying only on how the tire feels when you squeeze it. For further reading, see Group test: Choose the best floor pumps.
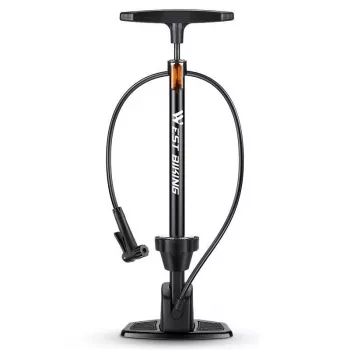
Our High-Pressure Bike Floor Pump with Gauge is in stock and is listed as compatible with both Presta and Schrader valves. Before connecting it, look for the recommended pressure range on your tire’s sidewall. Use that range as your guide, and never inflate beyond the tire’s stated maximum.
Pressure markings may use pounds per square inch (psi), bar, or both. Match the units on the tire to those on the gauge so you are comparing the correct numbers.
Before pumping, identify the valve on your wheel. A Presta valve is narrow and has a small threaded tip. A Schrader valve is wider and looks like the valve on a car tire. Both commonly have removable caps, but a Presta valve needs one extra step before you attach the pump.
For a Presta valve, remove the cap and loosen the small tip by turning it counterclockwise. You do not need to remove the tip. After inflation, tighten it again and replace the cap. For a Schrader valve, remove the cap before attaching the pump head.
| Valve type | How to identify it | Before pumping |
|---|---|---|
| Presta | Narrow valve with a small threaded tip | Remove the cap and loosen the tip |
| Schrader | Wider valve resembling a car tire valve | Remove the cap |
Follow the pump’s instructions for attaching its head to your valve. Getting a secure connection helps air enter the tire instead of escaping around the valve.
Set aside a few minutes before your ride and work through these steps for each tire:
A little air may escape briefly as you remove the head. If the tire loses substantial pressure or air keeps escaping, reconnect the pump and check the valve and connection. For more general guidance, see REI Co-op’s guide to pumping a bike tire.
Check your tires regularly and before rides, especially if your bike has been sitting for a while. The pressure that feels right can depend on the tire and your riding conditions, so the same number will not suit every bicycle. Start with the range printed on the tire and adjust within it for your needs; do not exceed the stated maximum.
It can help to note the pressure you use and how the bike feels on familiar routes. That gives you a starting point for the next ride without replacing the tire manufacturer’s range. If the front and rear tires have different markings, check each one separately.
For a separate post-ride reading option, we also carry the Essential Oils Relaxation eBook Guide. It is an optional digital guide, not a bike maintenance product.
Ready to prepare for your next ride? View our floor pump and its current price on the product page.
Before choosing, compare the product details with your daily routine, available space, care needs, and preferred setup. The strongest option is usually the one that fits the intended use clearly and remains simple to clean, store, and check before repeat use.
Yes. Our pump is listed as compatible with both valve types; follow its instructions for attaching the head to your valve.
Use the recommended range printed on each tire and adjust within that range for your riding needs. Do not exceed the stated maximum.
Check that the pump head is properly seated and secured. For a Presta valve, also make sure the small threaded tip is loosened before inflating.




Leave a comment