-
Shop
- Adidas
- Advanced Technologies
- Bathroom
- Best-Sellers
- Car Accessories
- Dating & Social Skills
- Digital Resources
- AI & Technology
- AI Skills
- Beauty
- Budgeting & Saving
- Car Buying & Ownership
- Cozy Feast Collection
- Electronics & Technology
- Emotional Intelligence
- Entrepreneurship & Business Growth
- Financial Education
- Financial Independence
- Financial Mindset & Psychology
- Goal Setting
- Home Styling & Organization
- Kitchen & Recipes
- Leadership
- Mindfulness
- Mindset
- Motivation
- Online Business
- Parenting & Child Development
- Personal Style & Fashion
- Pet Lifestyle & Wellness
- Positive Thinking
- Productivity
- Self Confidence
- Sleep Improvement
- Smart Life with AI
- Stress Management & Relaxation
- Travel Planning
- Wellness
- Yoga & Fitness
- Yoga & Mind-Body Practices
- Easter Products
- Education & Learning
- Family & Parenting
- Fashion
- Alexander McQueen
- Bags
- Bags & Wallets
- Balenciaga
- Belts
- Blazers
- Bottega Veneta
- Brunello Cucinelli
- Burberry
- Chanel
- Chloé
- Dior
- Dolce & Gabbana
- Dresses
- Etro
- Fendi
- Gucci
- Hats & Hair Accessories
- Jewelry
- Jil Sander
- Keychains
- Kiton
- Luggage
- Miu Miu
- Off-White
- Outerwear
- Prada
- Rick Owens
- Saint Laurent
- Shoes
- Socks & Tights
- The Row
- Tom Ford
- Valentino
- Valentino Garavani
- Versace
- Vivienne Westwood
- Watches
- Furniture
- Gadgets
- Health & Beauty
- Health & Wellness
- Home & Garden
- Home Electronics
- Kids & Babies
- Kitchen
- Lighting
- Patio, Lawn & Garden
- Personal Growth
- Pet Care
- Pet Supplies
- Pets
- Smart Home Living Guides
- Sport & Outdoors
- Stress Relief & Relaxation
- TikTok Growth & Monetization Mastery
- Travel
- Wealth
- Wealth Building
- Popular
- Best deals
Beginner Cobbler Guide: Bubbling Fruit, Golden Top
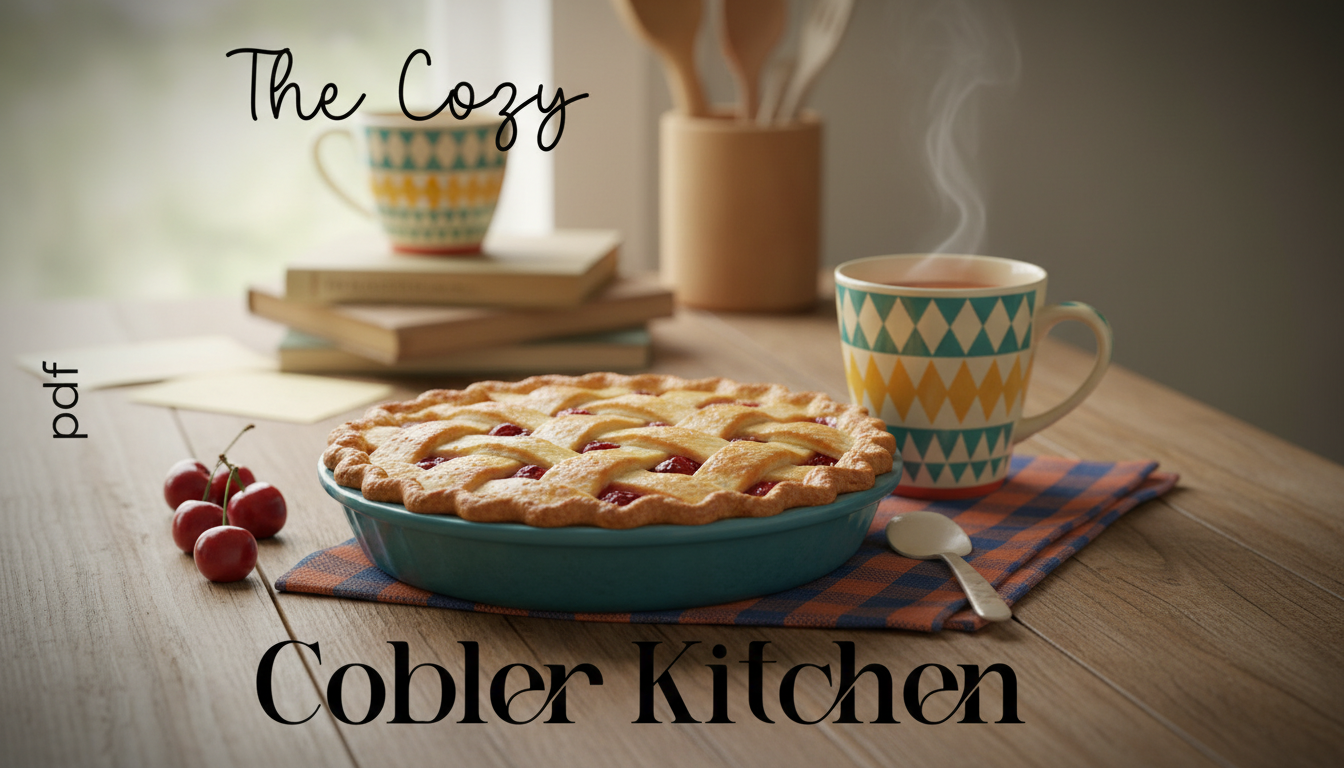
Warm, Jammy, and Beginner-Proof: Why Cobbler Belongs in Your Baking Rotation
Cobbler is comfort dessert at its best: fruit that turns glossy and bubbly in the oven, topped with a rustic layer that browns into a tender, spoonable finish. It’s also one of the most forgiving bakes for beginner home bakers, because you don’t need perfect knife work, fancy decorating, or precise layering to get something that tastes homemade in the best way. With a few reliable cues—like how the filling bubbles and how the topping sets—you can bake a cobbler that’s cozy, golden, and ready for a scoop of vanilla ice cream.
What Makes a Cobbler a Cobbler
At its core, a cobbler is a fruit base baked under or around a simple topping. That topping can be biscuit-style (dolloped in mounds), cake-style (a thick batter), or even a pour-in batter that puffs and cradles the fruit as it bakes.
- The goal is contrast: jammy fruit beneath a tender, browned top.
- Endless variations: peach, berry, apple, cherry—single fruit or a mix; spiced, citrus-brightened, or vanilla-scented.
- Best serving style: warm, with vanilla ice cream or lightly sweetened whipped cream.
Tools and Ingredients to Gather
Most cobblers come together with basic kitchen gear. A few smart choices help the bake cook evenly and thicken correctly.
- Baking dish: An 8×8 or 9×9-inch pan (about 2 quarts). Glass or ceramic helps distribute heat steadily.
- Mixing basics: Bowl, whisk, spatula, measuring cups/spoons. A pastry cutter is helpful for biscuit toppings, but not required.
- Fruit options: Fresh, frozen (often no thaw needed), or canned (drain well).
- Flavor builders: Sugar, lemon juice/zest, vanilla, cinnamon, nutmeg, and a pinch of salt.
- Thickeners: Cornstarch, tapioca starch, or flour—amounts depend on how juicy the fruit is.
- Topping staples: Flour, baking powder, salt, butter, milk or buttermilk, and optional sugar for sparkle and crunch.
For safe handling—especially when prepping produce and working with chilled dairy—follow clean prep habits and proper storage guidance from the USDA Food Safety and Inspection Service.
Step-by-Step: How to Bake a Cobbler
Step 1 — Heat the oven
Preheat to 350–400°F depending on the topping style. Use the middle rack for even browning and steady bubbling.
Step 2 — Prepare the fruit
Slice larger fruit evenly so it softens at the same pace. Taste a piece: if it’s peak-season sweet, you’ll need less sugar; if it’s tart or frozen, a small boost helps. Add lemon juice for brightness and balance.
Step 3 — Thicken the filling
Toss the fruit with your thickener and a pinch of salt, then let it sit 5–10 minutes. This draws out juices so the thickener can coat everything more evenly before baking.
Step 4 — Build the base
Butter the baking dish, then spread fruit in an even layer. A level base encourages consistent bubbling (not just around the edges).
Step 5 — Mix the topping
For biscuit-style, cut cold butter into the dry ingredients until crumbly, then stir in milk or buttermilk just until combined. Avoid overmixing; a slightly shaggy dough bakes up tender.
Step 6 — Top the fruit
Dollop or spread the topping across the surface. Leave small gaps so steam can escape and fruit can bubble up—those little pockets are part of the cobbler charm.
Step 7 — Bake until bubbling and golden
Typical bake time is 35–55 minutes. The most important cue is not the clock—it’s vigorous bubbling in the center of the dish and a topping that looks set and deeply golden.
Step 8 — Rest before serving
Cool 15–25 minutes so the filling thickens as it settles. Cutting too soon is the fastest way to end up with a watery scoop.
Quick Bake Targets (Use as a Visual Checklist)
| What to Look For | Why It Matters | Fix If Not There Yet |
|---|---|---|
| Fruit bubbling in the center, not just the edges | Signals the filling reached a full simmer to activate thickener | Bake 5–10 minutes longer; tent with foil if top is browning too fast |
| Topping browned and set (no wet streaks) | Ensures topping is cooked through and won’t turn gummy | Lower rack one level or extend bake time; check oven temperature |
| Filling thickens after resting | Resting allows starches to finish setting | Cool longer; next time add a touch more thickener for very juicy fruit |
Choosing Fruit and Balancing Sweetness
For fruit dessert technique ideas and dependable baking references, browse the recipe resources at King Arthur Baking.
Topping Styles: Pick the One That Matches Your Mood
Common Cobbler Problems and Simple Fixes
Digital Download: The Cozy Cobbler Kitchen
If you want a friendly, step-by-step reference you can keep open while you bake, The Cozy Cobbler Kitchen digital download is designed to make cobbler feel approachable from the first try. It simplifies decisions about fruit, thickening, topping texture, and doneness cues so your results feel consistent—without complicated techniques.
For a cozy night-in pairing, consider the companion read How Essential Oils Can Ease Stress and Anxiety (eBook)—a calm, comfort-forward guide that fits right in with warm-dessert evenings and slow kitchen rituals.
FAQ
How do you know when a cobbler is done baking?
Look for vigorous bubbling in the center of the fruit filling and a topping that’s deeply golden and set. If the top browns early, tent with foil and continue baking until the middle bubbles.
Can frozen fruit be used for cobbler without thawing?
Yes. Bake straight from frozen in most cases; expect a longer bake time and more bubbling. For very juicy frozen berries, a small increase in thickener can help.
Why is my cobbler filling watery after baking?
It’s usually underbaked (not bubbling in the center), short on thickener, or cut too soon. Bake longer, rest 15–25 minutes, and adjust thickener next time based on how juicy your fruit is.















Leave a comment