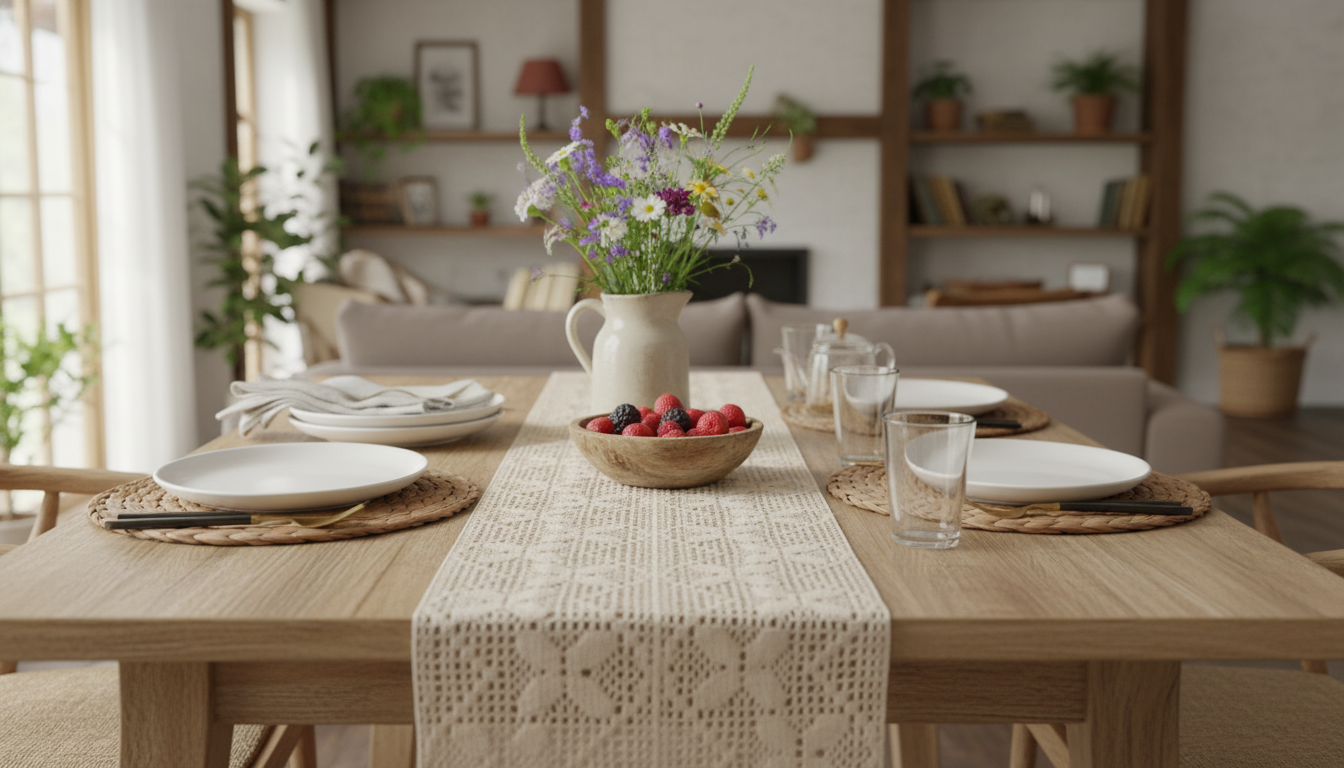
A simple table runner is a practical first project: you can practice one stitch, repeat the same row, and make the runner as long as you need. We recommend starting with a washable cotton yarn and a basic rectangular shape before trying decorative motifs.
The amount of yarn depends on your runner’s size and your stitch tension. Keeping the yarn label can help you find the same color if you need another skein.
Measure the area you want the runner to cover. For an easy starting point, aim for a runner about 12 inches wide, then decide whether you want it to end on the tabletop or hang over each end. Write down your target length.
Make a slipknot on your hook and chain 32 stitches. This sample width gives you room to practice; its actual measurement will depend on your yarn, hook, and tension. Keep the chain loose enough to work into comfortably.
Insert your hook into the second chain from the hook. Yarn over, pull up a loop, yarn over again, and pull through both loops to make one single crochet. Work one single crochet into each remaining chain. You should have 31 stitches.
Chain one and turn your work. Single crochet into the first stitch and each stitch across, keeping 31 stitches per row. The turning chain does not count as a stitch. Repeat until the runner reaches your target length, measuring it flat as you go.
If your edges begin to slope, count your stitches. A marker in the first or last stitch can make the row ends easier to spot.
Cut the yarn, leaving a tail, and pull it through the final loop. Use your yarn needle to weave in the ends. Gently shape the runner flat; add fringe or a simple border if you like.
For a more decorative look, explore our beige boho dragonfly crochet table runner guide.
Yes, but follow the yarn’s care instructions. Reshape the runner while damp and dry it flat to help maintain its shape.






Leave a comment