-
Shop
- Adidas
- Advanced Technologies
- Bathroom
- Best-Sellers
- Car Accessories
- Dating & Social Skills
- Digital Resources
- AI & Technology
- AI Skills
- Beauty
- Budgeting & Saving
- Car Buying & Ownership
- Cozy Feast Collection
- Electronics & Technology
- Emotional Intelligence
- Entrepreneurship & Business Growth
- Financial Education
- Financial Independence
- Financial Mindset & Psychology
- Goal Setting
- Home Styling & Organization
- Kitchen & Recipes
- Leadership
- Mindfulness
- Mindset
- Motivation
- Online Business
- Parenting & Child Development
- Personal Style & Fashion
- Pet Lifestyle & Wellness
- Positive Thinking
- Productivity
- Self Confidence
- Sleep Improvement
- Smart Life with AI
- Stress Management & Relaxation
- Travel Planning
- Wellness
- Yoga & Fitness
- Yoga & Mind-Body Practices
- Easter Products
- Education & Learning
- Family & Parenting
- Fashion
- Alexander McQueen
- Bags
- Bags & Wallets
- Balenciaga
- Belts
- Blazers
- Bottega Veneta
- Brunello Cucinelli
- Burberry
- Chanel
- Chloé
- Dior
- Dolce & Gabbana
- Dresses
- Etro
- Fendi
- Gucci
- Hats & Hair Accessories
- Jewelry
- Jil Sander
- Keychains
- Kiton
- Luggage
- Miu Miu
- Off-White
- Outerwear
- Prada
- Rick Owens
- Saint Laurent
- Shoes
- Socks & Tights
- The Row
- Tom Ford
- Valentino
- Valentino Garavani
- Versace
- Vivienne Westwood
- Watches
- Furniture
- Gadgets
- Health & Beauty
- Health & Wellness
- Home & Garden
- Home Electronics
- Kids & Babies
- Kitchen
- Lighting
- Patio, Lawn & Garden
- Personal Growth
- Pet Care
- Pet Supplies
- Pets
- Smart Home Living Guides
- Sport & Outdoors
- Stress Relief & Relaxation
- TikTok Growth & Monetization Mastery
- Travel
- Wealth
- Wealth Building
- Popular
- Best deals
Build a DIY Electric Robot: STEM Learning for Kids
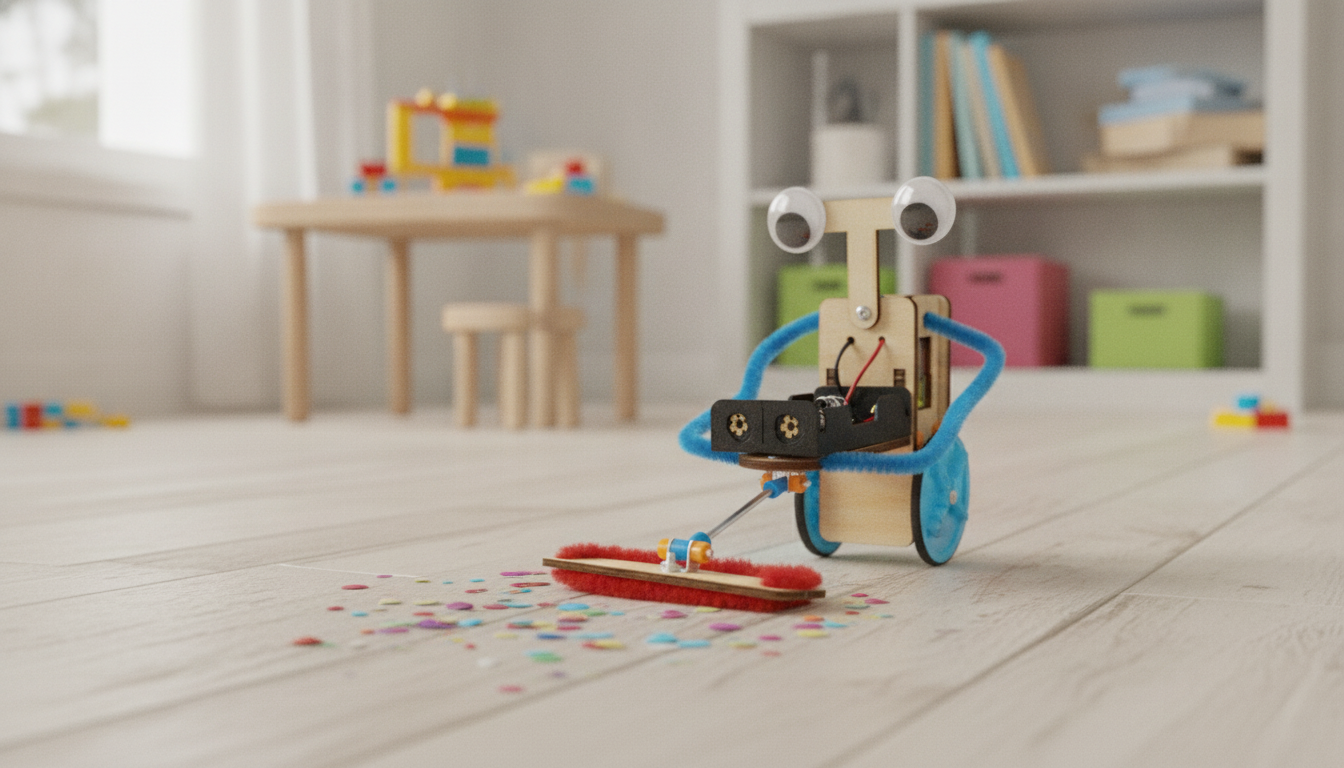
STEM Kids 3D DIY Electric Robot Toy for Science & Learning Fun
A build-it-yourself electric robot kit turns playtime into hands-on discovery. With a few simple steps—assembling parts, connecting power, and testing movement—kids can explore how basic circuits, mechanics, and problem-solving work together. This guide explains what to expect from a 3D DIY robot toy, what skills it supports, how to set it up safely, and easy ways to extend the learning after the first successful run.
For extra activity ideas beyond the kit itself, reputable resources like NASA STEM Engagement and PBS KIDS: Science Activities offer simple experiments that pair well with building and testing.
What This DIY Electric Robot Kit Helps Kids Learn
- Basic electricity concepts: power source, connections, and how a simple circuit enables motion.
- Mechanical thinking: how parts fit, how movement transfers through components, and why alignment matters.
- Engineering habits: following build steps, testing, adjusting, and trying again after a failed attempt.
- Fine-motor practice: handling small pieces, assembling accurately, and keeping track of parts.
- Confidence through iteration: learning that troubleshooting is part of building, not a sign of failure.
One of the best parts of a simple electric robot build is how quickly kids can connect actions to outcomes: tighten a connection, the motor runs more smoothly; shift a piece slightly, the robot tracks straighter. That immediate feedback loop supports real scientific reasoning without needing a classroom setup.
What’s Included and What to Prepare
- 3D DIY robot components designed to be assembled into a working electric robot toy.
- Electric drive elements (such as a motor or powered mechanism) that create motion when connected correctly.
- A small set of parts that typically benefit from being organized before starting (sort by size/shape to avoid mix-ups).
- Prepare a clear workspace: a tray or bowl for small pieces, and a flat surface with good lighting.
- Have basic supplies ready: a small screwdriver if required by the kit, and fresh batteries if the kit uses them (confirm the required type before starting).
| Step | Goal | Tip |
|---|---|---|
| Sort parts | Avoid missing pieces during assembly | Group similar shapes together and count them once |
| Build the frame | Create a stable base for the robot | Press-fit or fasten evenly to keep it square |
| Connect the power | Enable motion | Double-check polarity and firm contacts |
| Test movement | Confirm it runs smoothly | Run a short test before fully closing the body |
| Troubleshoot | Fix issues early | Look for loose connections or misaligned parts |
Build Tips for a Smooth First Run
- Start with a “dry fit”: loosely assemble key pieces to confirm orientation before locking parts in place.
- Tighten evenly: if screws are used, alternate between them rather than fully tightening one side first.
- Keep wires and contacts clear: keep them away from moving parts to prevent snagging and inconsistent motion.
- When the robot stutters or stops: check low battery power, loose electrical contact, or a part rubbing against the drive path.
- Ask prediction questions: “Will it move faster if the connection is firmer?” builds the habit of testing one change at a time.
To keep frustration low, pause after each major build step and run a quick check: does the wheel/drive area spin freely by hand (when the kit design allows), and do parts sit flush instead of bowing or twisting? Small alignment fixes early can prevent repeated rebuilds later.
Hands-On Activities After Assembly
- Motion experiments: test on carpet vs. tile and discuss friction and surface grip.
- Design challenges: build a simple “obstacle course” using books or blocks and adjust the robot path/approach.
- Timing and measurement: use a stopwatch to time travel over a fixed distance; record results and compare runs.
- Cause-and-effect journal: write down one change at a time (battery swap, part re-seat, surface change) and the observed outcome.
- Creative extension: decorate the robot body with stickers or paper panels without blocking moving parts or airflow around the motor area.
A fun variation is to mark a “start” and “finish” line with painter’s tape, then run three trials on each surface. Kids can compute an average time and decide which setup is most consistent, not just fastest.
Choosing the Right Age Range and Supervision Level
Care, Battery Safety, and Storage
For a practical overview of handling and storing batteries safely, refer to the National Safety Council: Battery Safety guidance.
Product Option: STEM Kids 3D DIY Electric Robot Toy
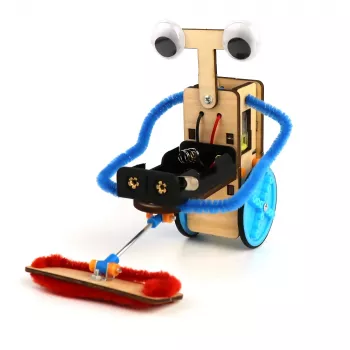
If you’re looking for a compact, budget-friendly build that gets kids quickly from assembly to “it moves!”, consider the STEM Kids 3D DIY Electric Robot Toy for Science & Learning Fun. It’s a hands-on activity that combines building, powering, and testing a working robot, and it naturally supports quick troubleshooting cycles (adjust, test, observe, repeat).
For a different kind of add-on that supports calmer routines after an active build session, the How Essential Oils Can Ease Stress and Anxiety | Relaxation eBook Guide for Natural Stress Relief, Aromatherapy, and Anxiety Support can be a helpful parent resource for planning a screen-free wind-down.
FAQ
Does a DIY electric robot kit require coding?
Many entry-level DIY robot toys focus on physical assembly plus basic circuits and mechanics, so coding usually isn’t required. Kids still build STEM skills by following steps, testing results, and learning cause-and-effect while troubleshooting.
What if the robot doesn’t move after assembly?
Check the battery type and charge, confirm polarity, and re-seat any contacts so they’re firm. Inspect for a switch that’s off, a wire/contact touching a moving part, or a piece that’s misaligned and causing rubbing—test again before fully closing the body.
Is this kind of kit safe for kids?
It can be safe with age-appropriate supervision, especially when small parts and batteries are involved. Use only the specified battery type, avoid damaged cells, keep electronics dry, and follow the included instructions during assembly and testing.














Leave a comment