-
Shop
- Adidas
- Advanced Technologies
- Bathroom
- Best-Sellers
- Car Accessories
- Dating & Social Skills
- Digital Resources
- AI & Technology
- AI Skills
- Beauty
- Budgeting & Saving
- Car Buying & Ownership
- Cozy Feast Collection
- Electronics & Technology
- Emotional Intelligence
- Entrepreneurship & Business Growth
- Financial Education
- Financial Independence
- Financial Mindset & Psychology
- Goal Setting
- Home Styling & Organization
- Kitchen & Recipes
- Leadership
- Mindfulness
- Mindset
- Motivation
- Online Business
- Parenting & Child Development
- Personal Style & Fashion
- Pet Lifestyle & Wellness
- Positive Thinking
- Productivity
- Self Confidence
- Sleep Improvement
- Smart Life with AI
- Stress Management & Relaxation
- Travel Planning
- Wellness
- Yoga & Fitness
- Yoga & Mind-Body Practices
- Easter Products
- Education & Learning
- Family & Parenting
- Fashion
- Alexander McQueen
- Bags
- Bags & Wallets
- Balenciaga
- Belts
- Blazers
- Bottega Veneta
- Brunello Cucinelli
- Burberry
- Chanel
- Chloé
- Dior
- Dolce & Gabbana
- Dresses
- Etro
- Fendi
- Gucci
- Hats & Hair Accessories
- Jewelry
- Jil Sander
- Keychains
- Kiton
- Luggage
- Miu Miu
- Off-White
- Outerwear
- Prada
- Rick Owens
- Saint Laurent
- Shoes
- Socks & Tights
- The Row
- Tom Ford
- Valentino
- Valentino Garavani
- Versace
- Vivienne Westwood
- Watches
- Furniture
- Gadgets
- Health & Beauty
- Health & Wellness
- Home & Garden
- Home Electronics
- Kids & Babies
- Kitchen
- Lighting
- Patio, Lawn & Garden
- Personal Growth
- Pet Care
- Pet Supplies
- Pets
- Smart Home Living Guides
- Sport & Outdoors
- Stress Relief & Relaxation
- TikTok Growth & Monetization Mastery
- Travel
- Wealth
- Wealth Building
- Popular
- Best deals
Car Lease Return Checklist: Avoid Fees at Turn-In
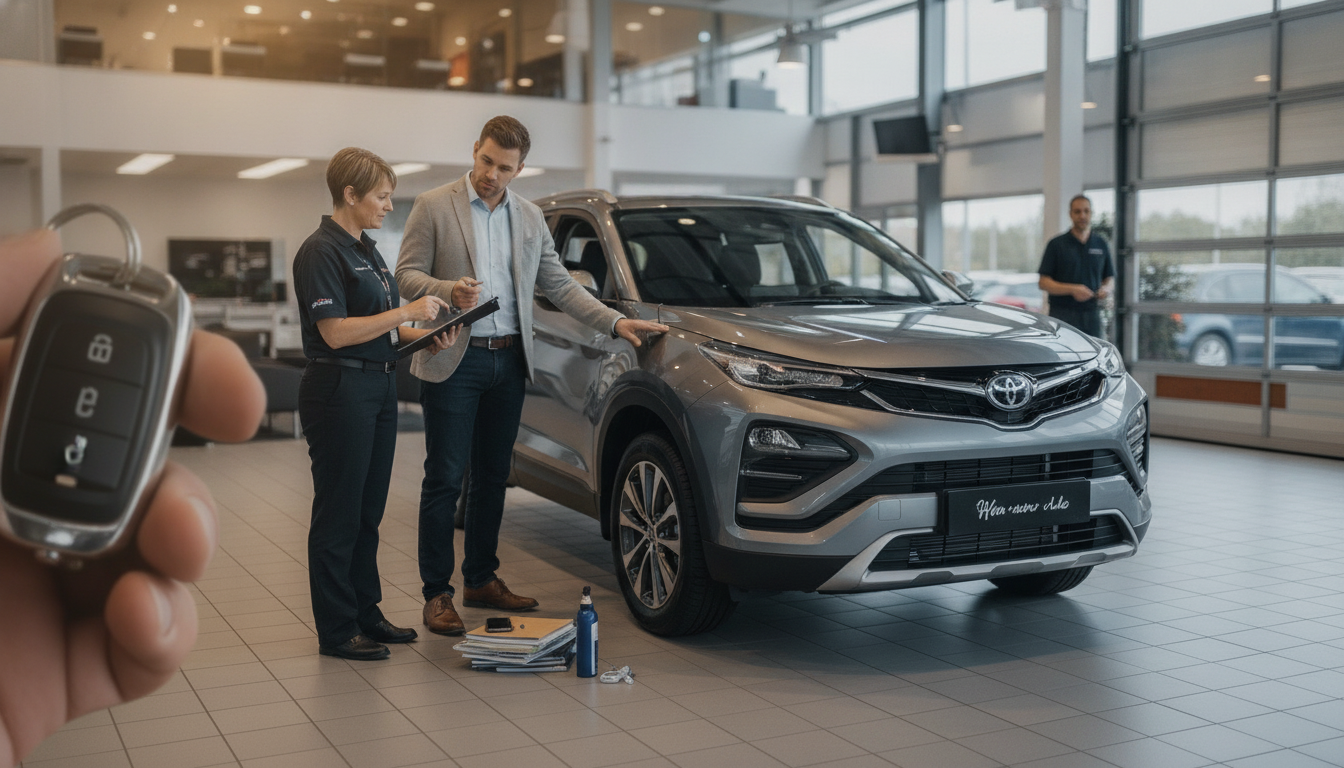
When Your Car Lease Ends: The Ultimate Checklist for a Smooth Return
A lease return goes smoothly when it’s treated like a short project with a timeline: confirm obligations, document condition, fix what’s worth fixing, and show up prepared. The checklist below organizes the steps by date so fees and last-minute surprises are less likely—whether you’re returning the car, rolling into a new lease, or considering a buyout.
90–30 Days Before: Set the Timeline and Confirm the Rules
Start early so you’re making choices with time on your side (repairs, mileage planning, and scheduling). Pull your lease agreement and write down the basics: scheduled maturity date, mileage allowance, disposition fee, wear-and-tear standards, and any remaining payments.
- Call the leasing company to confirm your return options (dealer drop-off vs. direct return), whether an inspection is required, and how to schedule it.
- Ask about early return rules and costs if you might turn it in before the maturity date.
- Verify what must be returned with the vehicle (keys/fobs, manuals, headsets, charging cables, floor mats, cargo cover, and any model-specific accessories).
- Pick an end path early: return and walk away, start a new lease, or buy out the vehicle—then request payoff/buyout details if relevant.
Lease-End Countdown Checklist
| When | What to do | Why it matters |
|---|---|---|
| 90–60 days | Review contract, mileage limit, fees, return location, inspection requirements | Prevents missed deadlines and unexpected charges |
| 60–45 days | Schedule pre-return inspection (if required/available) and start gathering accessories | Creates time to address items that trigger charges |
| 45–30 days | Compare repair quotes vs. likely wear charges; fix easy items; plan final detailing | Avoids paying more than necessary for cosmetic issues |
| 14–7 days | Document condition with dated photos/video; confirm appointment; remove personal items | Protects against disputes and speeds up return |
| Return day | Bring documents, get a receipt/odometer statement, keep copies | Proof of return and mileage at turn-in |
| After return | Track final bill, dispute errors quickly, confirm payments/auto-pay cancellation | Prevents late fees and billing problems |
Get the Vehicle Inspected and Understand Wear vs. Damage
If the lessor offers (or requires) a pre-return inspection, schedule it as soon as the window opens. Inspections are most useful when you still have time to fix items that are likely to be billed.
- Request a written inspection report and keep a copy (digital and/or printed).
- Learn your lessor’s definitions of “normal wear” versus “chargeable damage.” Normal wear is typically minor, expected use; damage tends to include larger dents, cracked glass, deep scratches, heavy interior tears/stains, or missing equipment.
- Pay extra attention to frequent charge categories: tires, wheels, windshield, lights, bumpers, and upholstery.
- If an inspection is optional, a third-party walk-through or dealer assessment can still identify problems while there’s time to address them.
For general consumer guidance on leasing and financial steps, the Consumer Financial Protection Bureau (CFPB) is a helpful place to cross-check terminology and common fees.
Mileage and Fees: Run the Numbers Before Turn-In
Mileage is one of the easiest lease-end charges to predict. Look at your odometer now, estimate your remaining driving, and compare that number to the contract allowance.
- Estimate end-of-lease mileage (current odometer + expected driving). If you’re likely to exceed the allowance, calculate the per-mile charge from your agreement.
- Compare options if you’re going over: reduce driving, ask about a lease extension, or evaluate a buyout (especially if the car’s market value is higher than the payoff).
- List potential end-of-lease charges so nothing surprises you: disposition fee, excess wear, excess mileage, unpaid tolls/parking tickets, and any remaining payments.
- If considering a buyout, confirm sales tax rules in your state and the lessor’s required payment method and paperwork.
To understand common auto financing and purchase considerations more broadly, the Federal Trade Commission (FTC) provides consumer-focused explanations and reminders.
Fix What’s Worth Fixing (and Skip What Isn’t)
The goal isn’t to make the car perfect—it’s to avoid paying more than necessary. Use your inspection report (or your own assessment) to prioritize items that are often billed at higher-than-local-shop rates.
Cleanout, Documentation, and What to Bring on Return Day
The Turn-In Appointment: Get Proof and Avoid Loose Ends
After the Return: Final Bill, Disputes, and Next Steps
Helpful Downloads and Related Checklists
- Download: When Your Car Lease Ends: The Ultimate Checklist for a Smooth Return
- Related: Turn an Old Car Into a Smart Tax Move (car donation checklist)
FAQ
What counts as normal wear and tear on a leased car?
Normal wear is typically minor cosmetic aging from regular use (small scuffs or light surface marks), while chargeable damage includes larger dents, cracked glass, deep scratches, heavy stains/tears, or missing equipment. Check your lessor’s wear-and-tear guide and use a pre-return inspection to confirm what will be billed.
Can lease-end charges be negotiated or disputed?
Yes—if something looks incorrect, respond quickly and provide documentation such as your dated photos/video, inspection report, and return receipt. Ask for itemized support for the charge and escalate through the lessor’s customer service process if the first response doesn’t resolve it.
What happens if the car is over the mileage limit?
You’ll typically be billed a per-mile overage fee listed in your lease contract, calculated by the number of miles above the allowance. If you’re close to the limit, consider reducing driving, asking about an extension, or comparing the cost to a buyout.














Leave a comment