-
Shop
- Adidas
- Advanced Technologies
- Bathroom
- Best-Sellers
- Car Accessories
- Dating & Social Skills
- Digital Resources
- AI & Technology
- AI Skills
- Beauty
- Budgeting & Saving
- Car Buying & Ownership
- Cozy Feast Collection
- Electronics & Technology
- Emotional Intelligence
- Entrepreneurship & Business Growth
- Financial Education
- Financial Independence
- Financial Mindset & Psychology
- Goal Setting
- Home Styling & Organization
- Kitchen & Recipes
- Leadership
- Mindfulness
- Mindset
- Motivation
- Online Business
- Parenting & Child Development
- Personal Style & Fashion
- Pet Lifestyle & Wellness
- Positive Thinking
- Productivity
- Self Confidence
- Sleep Improvement
- Smart Life with AI
- Stress Management & Relaxation
- Travel Planning
- Wellness
- Yoga & Fitness
- Yoga & Mind-Body Practices
- Easter Products
- Education & Learning
- Family & Parenting
- Fashion
- Alexander McQueen
- Bags
- Bags & Wallets
- Balenciaga
- Belts
- Blazers
- Bottega Veneta
- Brunello Cucinelli
- Burberry
- Chanel
- Chloé
- Dior
- Dolce & Gabbana
- Dresses
- Etro
- Fendi
- Gucci
- Hats & Hair Accessories
- Jewelry
- Jil Sander
- Keychains
- Kiton
- Luggage
- Miu Miu
- Off-White
- Outerwear
- Prada
- Rick Owens
- Saint Laurent
- Shoes
- Socks & Tights
- The Row
- Tom Ford
- Valentino
- Valentino Garavani
- Versace
- Vivienne Westwood
- Watches
- Furniture
- Gadgets
- Health & Beauty
- Health & Wellness
- Home & Garden
- Home Electronics
- Kids & Babies
- Kitchen
- Lighting
- Patio, Lawn & Garden
- Personal Growth
- Pet Care
- Pet Supplies
- Pets
- Smart Home Living Guides
- Sport & Outdoors
- Stress Relief & Relaxation
- TikTok Growth & Monetization Mastery
- Travel
- Wealth
- Wealth Building
- Popular
- Best deals
1600-Lumen Waterproof Bike Headlight + Wireless Remote
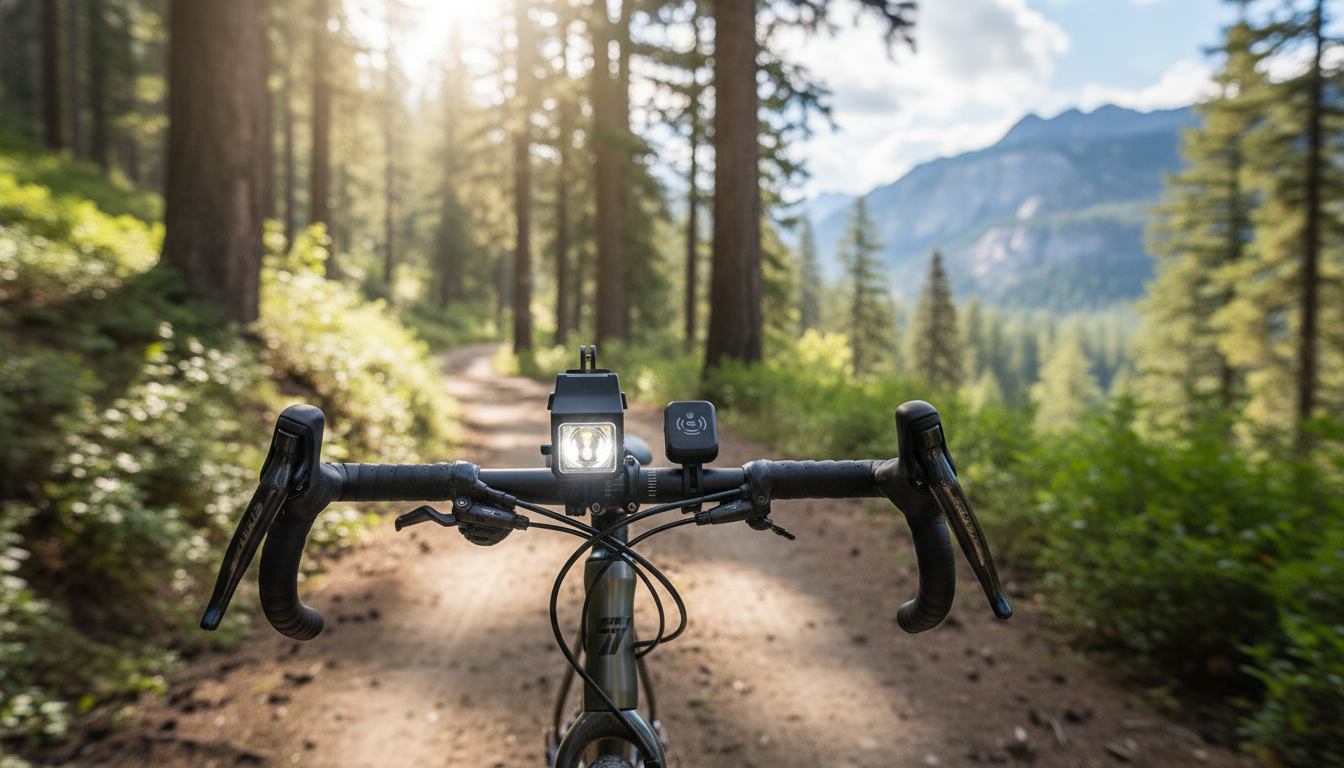
1600 Lumen Waterproof Bike Headlight with Wireless Remote Control
A bright, weather-ready headlight can make early commutes, dusk rides, and unlit paths feel more controlled and predictable. The 1600 Lumen Waterproof Bike Headlight with Wireless Remote Control adds a wireless handlebar remote so mode changes happen without taking a hand off the grip—useful when traffic, turns, or uneven surfaces demand full attention.
What Makes This Headlight Different
This light is built around a simple idea: strong illumination is most helpful when it’s easy to manage on the move. A high-output beam improves what you can see ahead, while the remote helps you adapt instantly as conditions change.
- 1600-lumen output designed to improve forward visibility and help other road users notice the rider sooner
- Wireless remote control for quick switching between lighting modes while keeping hands on the bars
- Waterproof build intended for wet commutes, road spray, and sudden weather changes
- Compact form factor suited for everyday carry and quick removal when parking
Brightness and Beam Use Cases
Brightness isn’t only about “more is better.” The best setting depends on where you ride, how fast you’re moving, and what other people (drivers, pedestrians, other riders) need to see. A powerful headlight is most effective when it’s aimed correctly and used thoughtfully.
- Urban commuting: higher brightness can help fill dark gaps between streetlights and improve presence at intersections
- Unlit paths: stronger output supports spotting potholes, debris, and surface changes earlier
- Group rides: lower modes can reduce glare for riders behind while still keeping the bike visible
- Fog or heavy rain: a balanced mode can be preferable to maximum output to reduce back-scatter and glare
Quick Guide to When to Use Each Mode
| Scenario | Recommended setting | Why it helps |
|---|---|---|
| Well-lit streets | Low / steady | Maintains visibility without excessive glare |
| Mixed lighting or dusk | Medium / steady | Fills darker patches between lights |
| Unlit roads or trails | High / steady | Maximizes forward visibility |
| Daytime visibility | Flash / pulse | Improves conspicuity to drivers and pedestrians |
Wireless Remote Control: Safer Mode Changes
Reaching forward to press a button on the light body can be awkward when you’re braking, signaling, or navigating rough pavement. A bar-mounted remote keeps control closer to your natural hand position.
- Less distraction: handlebar-mounted control can reduce distraction compared to reaching for the light body
- Fast adjustments: easier to toggle brightness when traffic conditions change quickly
- Better timing: supports rapid switching before turns, descents, and crossings
- More usable in poor conditions: useful with winter gloves or in rain when dexterity is reduced
For everyday commuting, that convenience often translates into consistency—riders are more likely to change modes when it’s effortless, which can improve comfort and reduce unwanted glare.
Waterproofing and Weather Readiness
Rain rides and wet roads can be hard on gear. A waterproof headlight is meant to keep performing through downpours, puddle spray, and the steady vibration that comes with rough weather commuting.
- Wet-ride best practice: designed to keep working during rain and road spray; dry and recharge indoors after wet rides
- Mount checks: mounting points should be checked periodically to prevent loosening from vibration and temperature changes
- Clean lens, cleaner beam: wipe away grit to keep the beam pattern clear and avoid scattered glare
- Be considerate with aiming: avoid directing high output at oncoming riders and drivers; angle slightly down to illuminate the road surface
For additional general bicycle safety guidance, the National Highway Traffic Safety Administration (NHTSA) and the U.S. Consumer Product Safety Commission (CPSC) publish practical tips on safer riding habits and visibility.
Mounting, Fit, and Setup Tips
A powerful light works best when it’s stable and aimed for the pavement—not for oncoming eyes. Take a few minutes to dial in the fit and you’ll get a smoother, more predictable beam pattern.
- Center the beam: position the light centered on the handlebar when possible for an even beam
- Aim down slightly: angle the beam so the brightest hotspot lands on the road ahead rather than at eye level for oncoming traffic
- Remote placement: confirm the remote can be reached without shifting grip—typically near the thumb
- Test ride: after installation, do a short test ride to ensure the mount stays stable over bumps
A quick real-world check: roll the bike 20–30 feet from a wall at night and confirm the brightest part of the beam hits low enough to light the ground ahead instead of shining straight out.
Everyday Care and Battery Habits
At-a-Glance Product Details
Purchase Snapshot
| Item | Details |
|---|---|
| Name | 1600 Lumen Waterproof Bike Headlight with Wireless Remote Control |
| Price | $41.67 (USD) |
| Stock status | In stock |
| Good fit for | Commuters, early-morning riders, evening rides, and wet-weather use |
More In-Stock Picks
- Motivation Magic: Your Easy-Do Checklist to Spark Drive & Get Stuff Done – Digital Guide
- Social Confidence in Any Situation | Printable Checklist for Self-Assurance and Communication Skills
FAQ
How bright is 1600 lumens for cycling?
1600 lumens is a high-output level that can work well for unlit roads and darker paths where you need more reach and detail. For shared roads, aim the light slightly downward and use lower modes when appropriate to reduce glare for others.
Is it safe to use a flashing mode at night?
Flashing modes can be very effective for daytime visibility, but at night many riders prefer a steady beam to support depth perception and avoid dazzling others. Local rules and traffic conditions matter, so choose the setting that maintains visibility without creating excessive glare.
How should a bike headlight be aimed?
Mount the light securely, then angle it slightly downward so the brightest hotspot lands on the pavement ahead rather than at eye level. After adjusting, do a quick check from a driver’s-eye perspective (or against a wall) to confirm it won’t shine into oncoming eyes.
Recommended for you



Trend Jacking: Go Viral Fast Without Copying
May 21, 2026
Desigual Red Shoulder-Strap Handbag for Daily Style
May 21, 2026













Leave a comment